
Win 11 Bare Metal Installation Steps
Step 1: Choose languages & time format
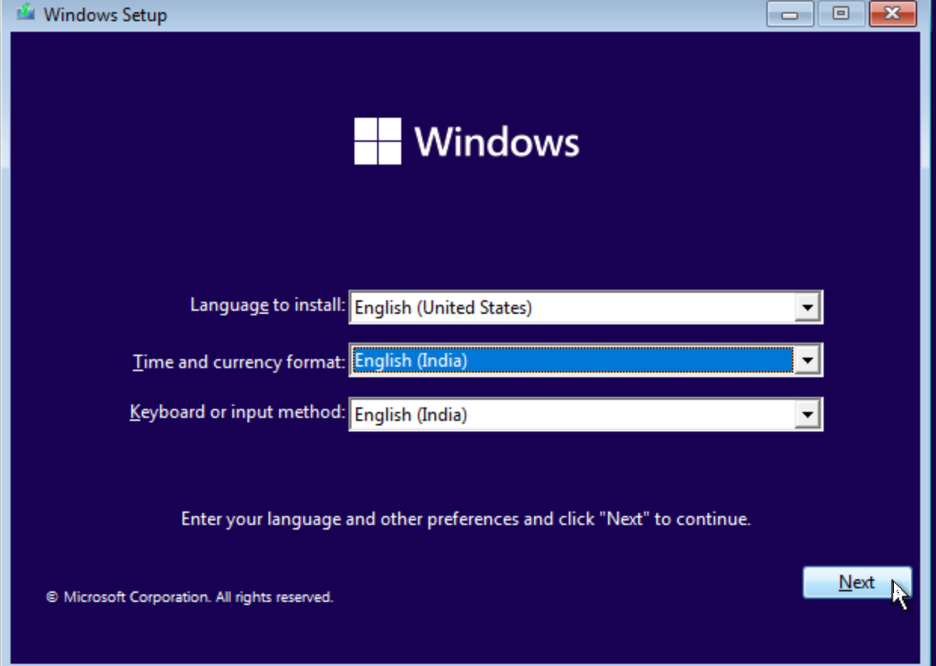
Change Time and currency format to English (India).
Accept the default values (English (United States) and US) for the other items.
Background
Changing Time and currency format setting will ensure Excel formats currencies in Rs and in lakhs, crores and dates in dd-mm-yy format.
Step 2: Start Installation
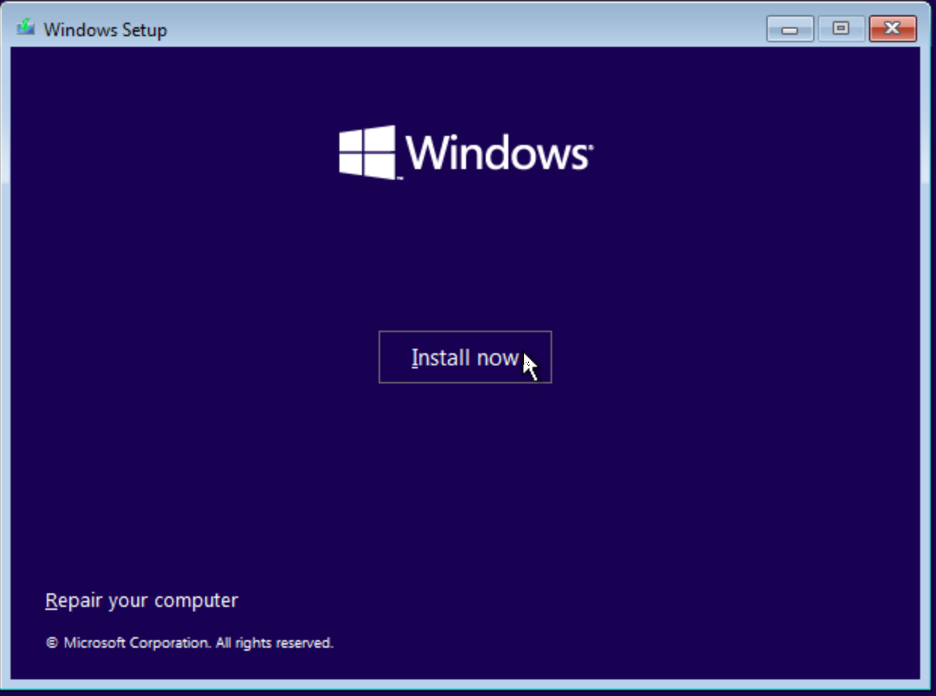
Click Install now to start installing Win11.
Step 3: Windows Activation
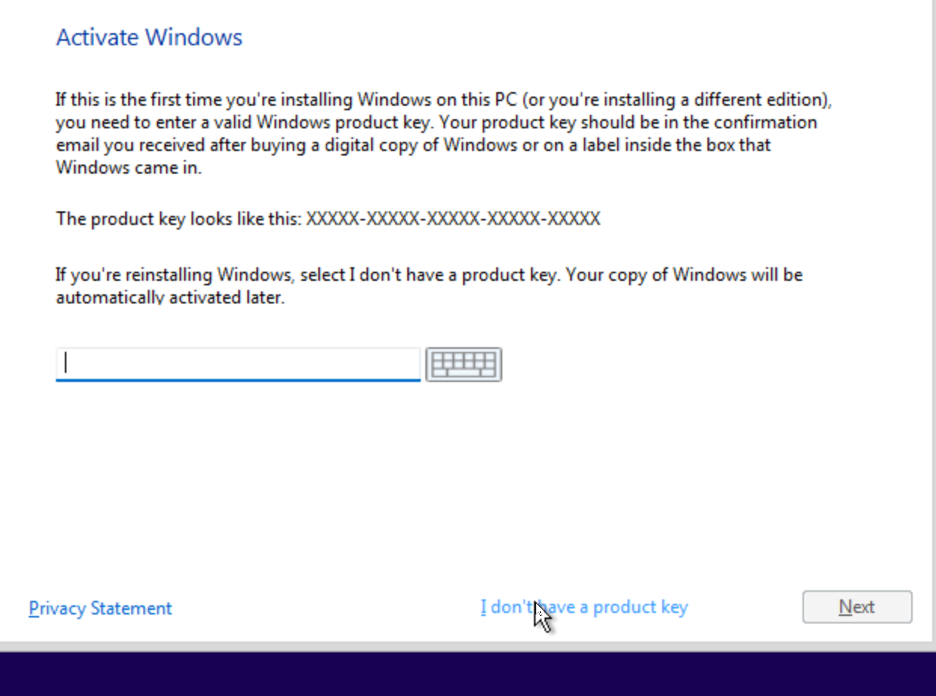
Select I don't have a product key and click Next.
Background
If you have purchased a Windows license along with your desktop/laptop, the keys are usually saved in the computer's BIOS. Once the computer is connected to the Internet, Windows will use the saved license key and automatically register and activate itself. There is no need to enter a key manually.
Step 4: Select OS Edition
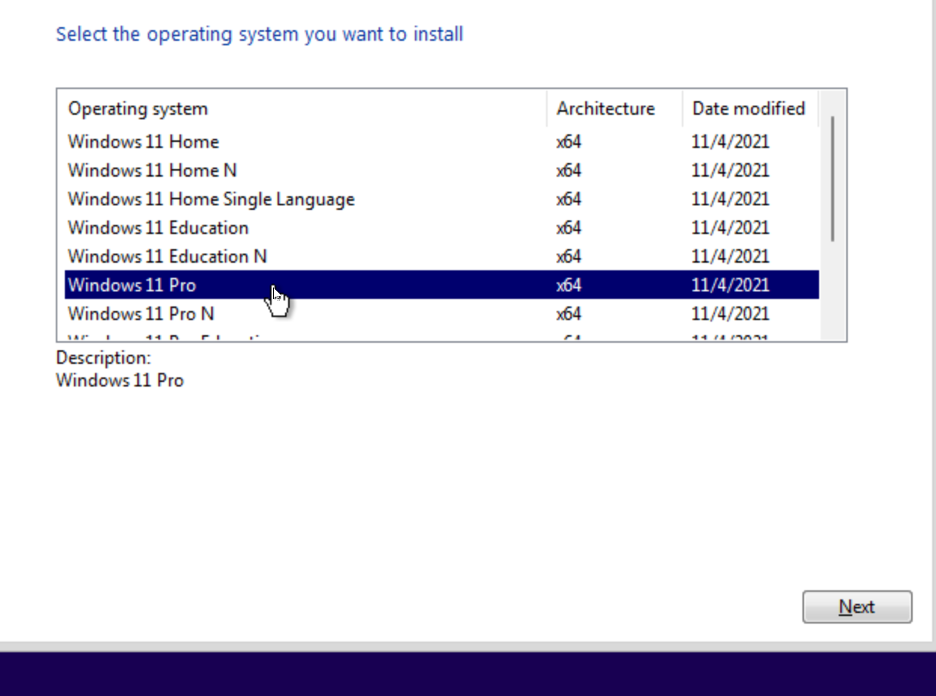
- Select Win11 Pro as the edition of Windows to install.
- If you already have a Win 11 Home license for your laptop/desktop, then you can select Win 11 Home.
Background
Win11 Pro has the following features so Win 11 Pro is recommended over Win 11 Home:
- Bitlocker disk encryption for added security
Note: Microsoft had earlier restrictions on WSL2 which required Win11 Pro. Now the licensing is relaxed and WSL2 is supported on Win 11 Home as well.
Step 5: Windows license terms
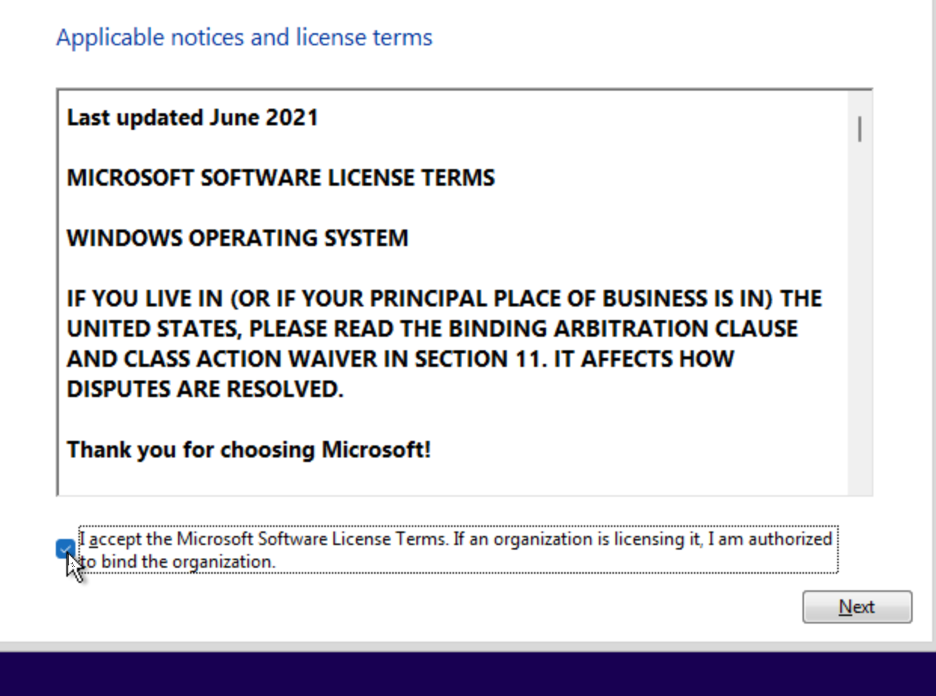
Accept the license terms and click Next.
Step 6: Installation types
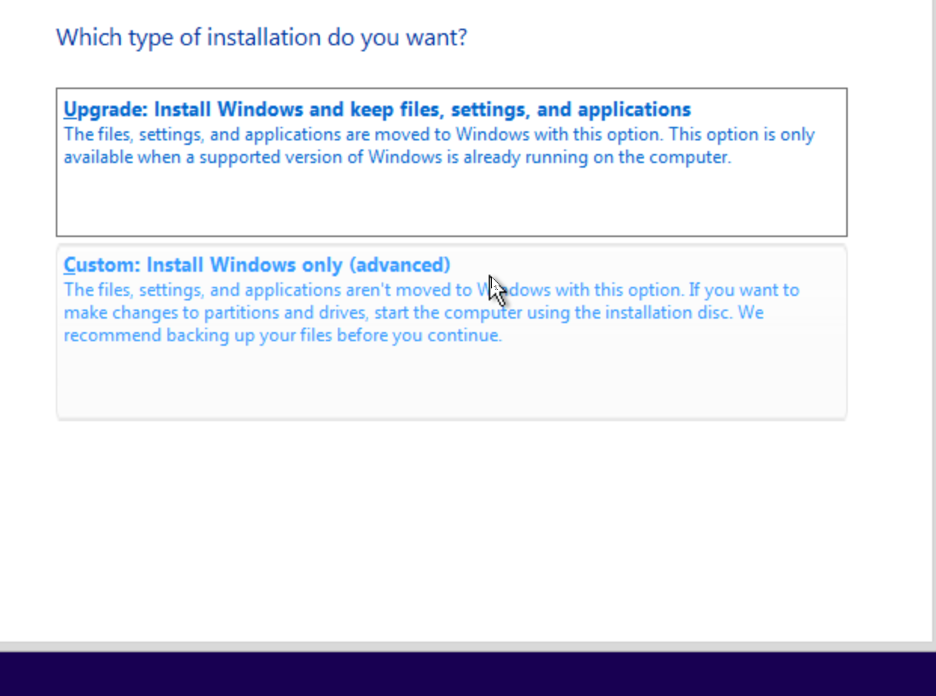
As we are deleting everything on the computer and performing a "clean install" of Windows, select the bottom option: Custom: Install Windows only (advanced).
Note
This process will delete all existing data in the computer and perform a fresh install of Windows.
Step 7: Select disk to install
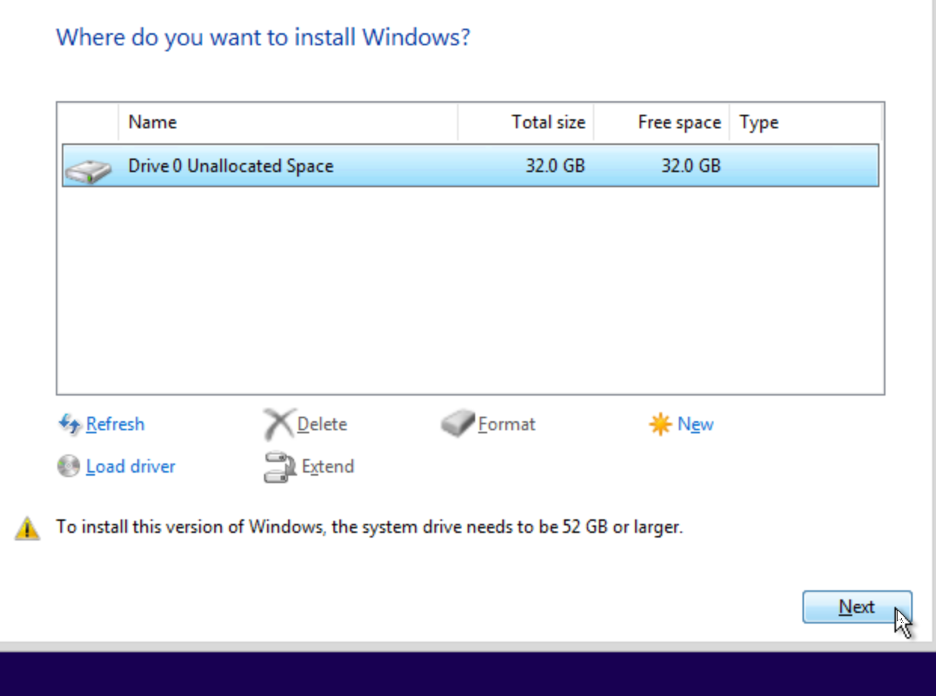
- This menu lists all the available drives in your computer. Usually you will have only one drive shown as Drive 0.
- Delete all existing partitions, by selecting them and clicking delete.
- Once all existing partitions are deleted, your screen will look like the screenshot above.
- The next step will erase all existing data on your computer, you cannot go back after this step. Ensure all valuable data on the computer is backed up elsewhere before proceeding.
- Select Drive 0 Unallocated Space and then click Next to delete all data and clean install Win 11.
Background
Win 11 prefers the boot disk to be partitioned using the GPT partition scheme in order for advanced functionality like Secure Boot to work correctly. By removing all partitions and asking the installer to use the unallocated space, the installer will automatically follow best practices and create the UEFI, OS and other partitions as required. In the end, you will have a single C: drive that fills the entire contents of your disk.
Do NOT partition the drive into multiple individual partitions of smaller sizes.
Eg. AVOID partitioning a 500GB SSD like this:
- C:\ - 100GB - OS disk
- D:\ - 100GB - Application disk
- E:\ - 300GB - data disk
Instead create a single C:\ that is of 500GB capacity.
Step 8: Installing Windows
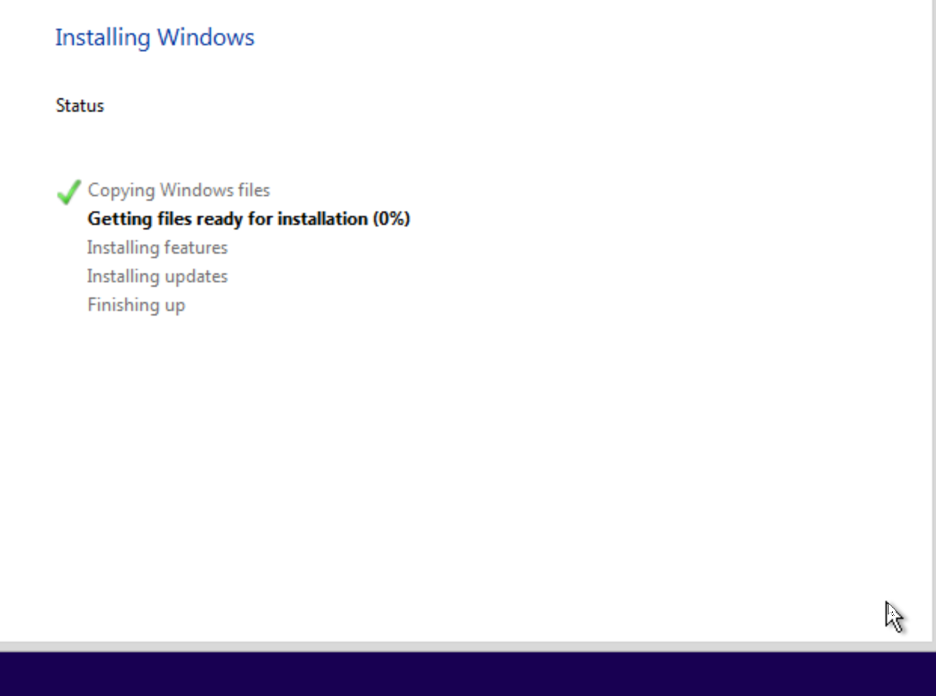
At this point, the installation of Windows will start. It will take around 20-25 minutes to complete the installation process. Wait patiently until it completes the installation.
During the installation, your system may reboot two or three times.
Note
At the time of reboot, make sure to unplug the USB drive or DVD drive otherwise it will load the complete setup again. Or if your Flash drive is bootable then don't press Any key on your keyboard.
Step 9: Windows startup
You need to wait a couple of minutes to allow Windows 11 to start up. During this period, you will first see the Windows 11 logo.
Step 10: Setup Windows without Internet
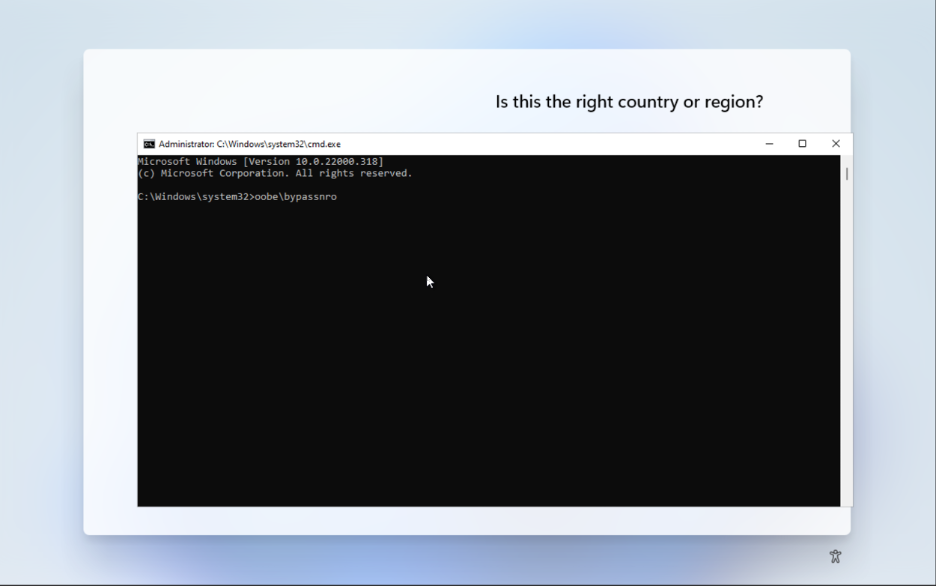
Open cmd with Shift + F10 and type OOBE\BYPASSNRO. Your computer will restart and now no need to have the internet to set up Windows 11.
Background
Windows 11 requires an internet connection to finish the initial setup (out-of-box experience (OOBE)). If the setup detects that the device doesn't have a network connection, you'll land on the "Oops, you've lost internet connection" page.
Step 11: Customize the region
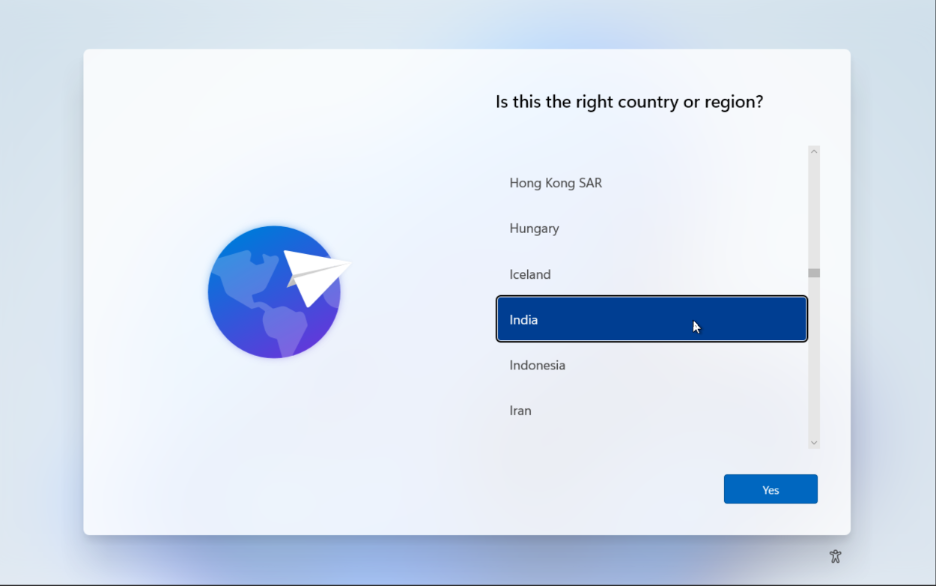
You will be invited to customize your Windows 11 settings. First of all, customize your country or region.
Step 12: Keyboard layouts
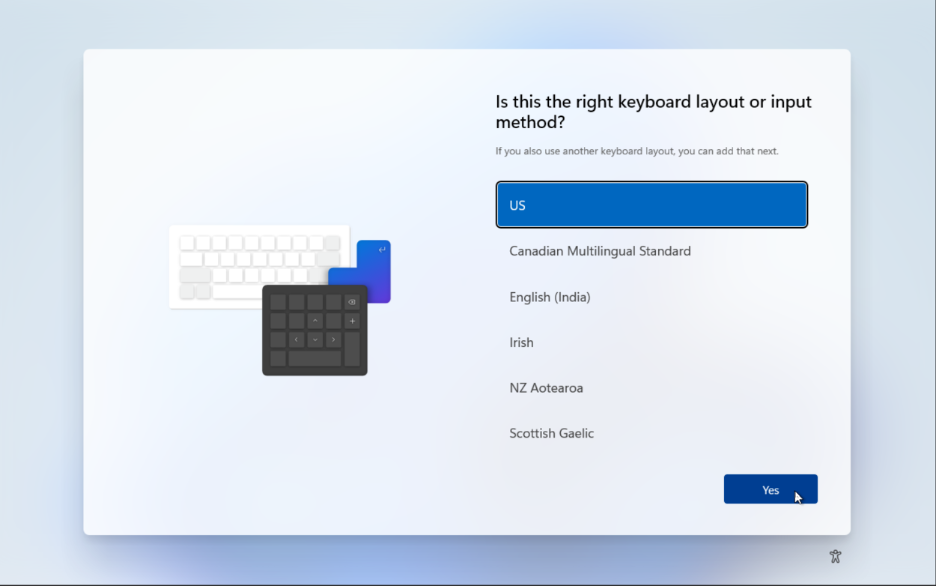
Choose your Windows 11 keyboard layout and input method.
Step 13: Adding Additional layouts
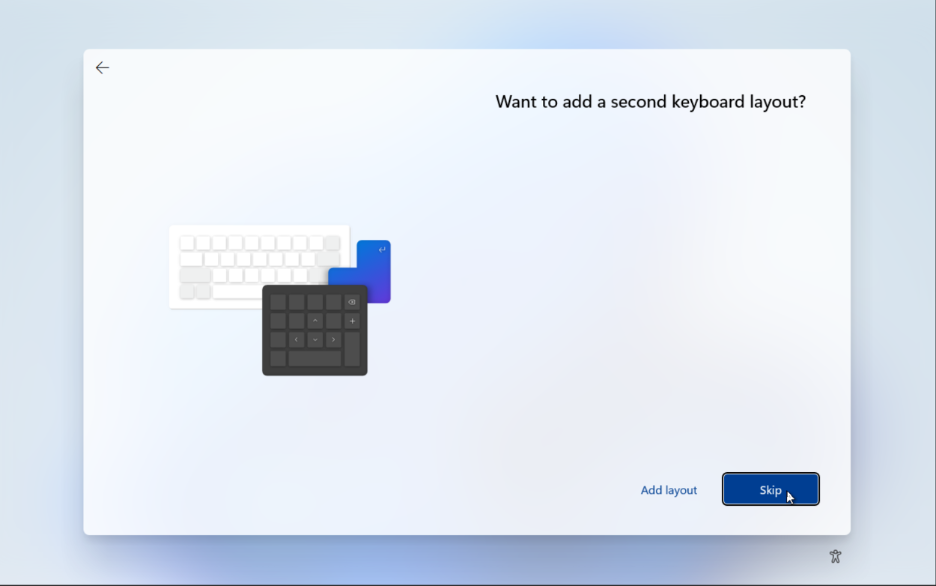
Decide whether you want a second keyboard layout in Windows 11 or not.
Step 14: Adding Network
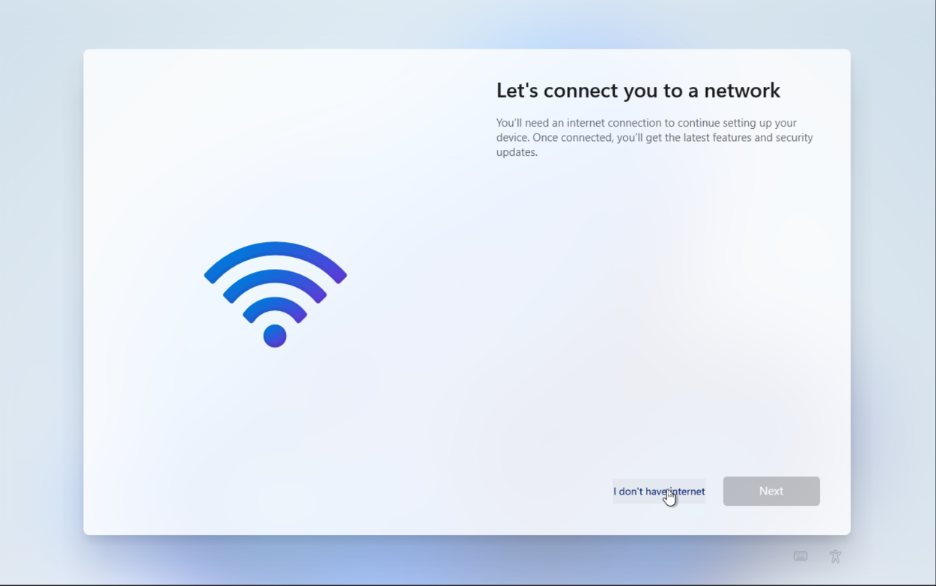
Select the "I don't have Internet" option.
Step 15: Microsoft Sign-in
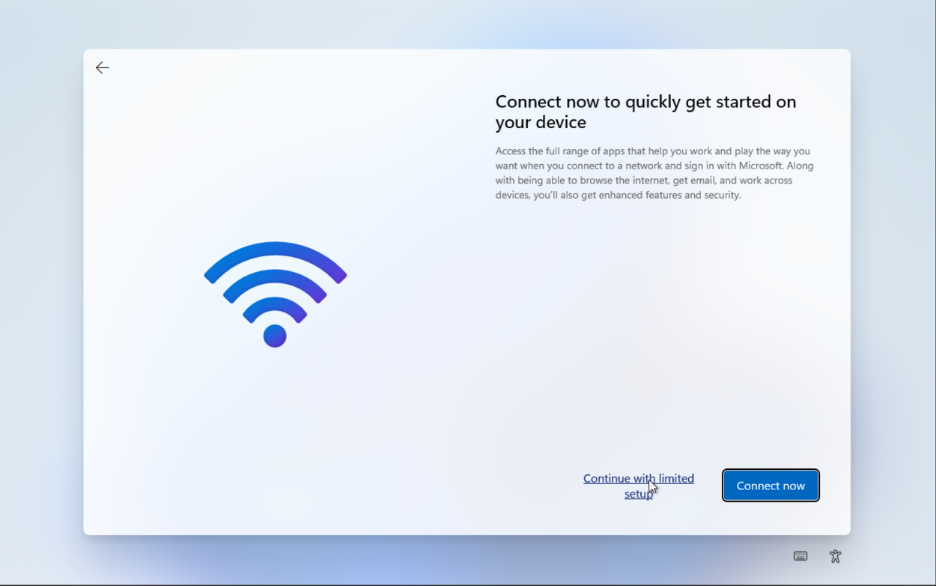
Select the Continue with limited setup option to set up Win 11 without connecting to Microsoft Account.
Step 16: Creating Admin User
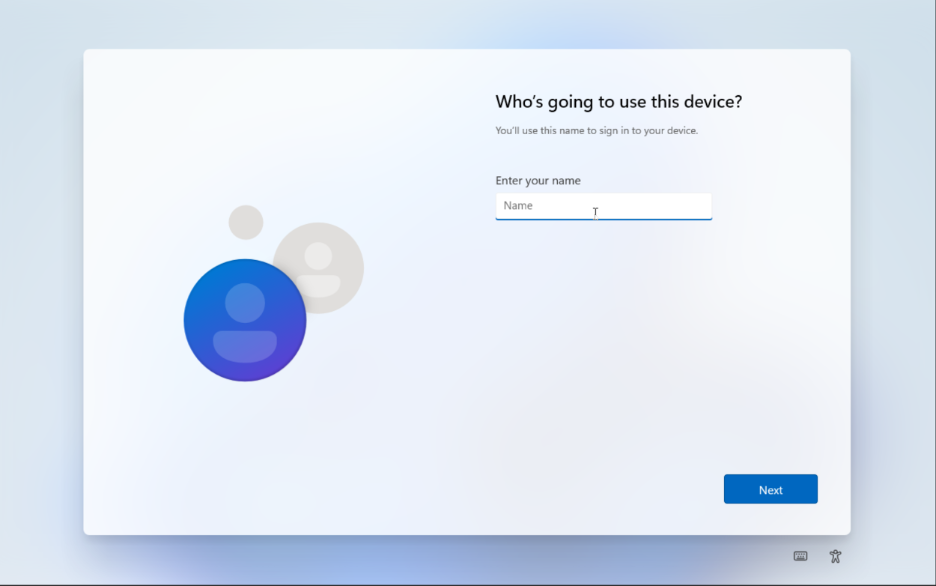
Username: admin
Background
The first user will automatically have Administrator privileges. This user account will be used for maintenance activities (installing software, changing Windows system settings, etc). Do not use the Administrator account for regular usage. Later on we will create a Standard User for regular usage.
Step 17: Creating user password
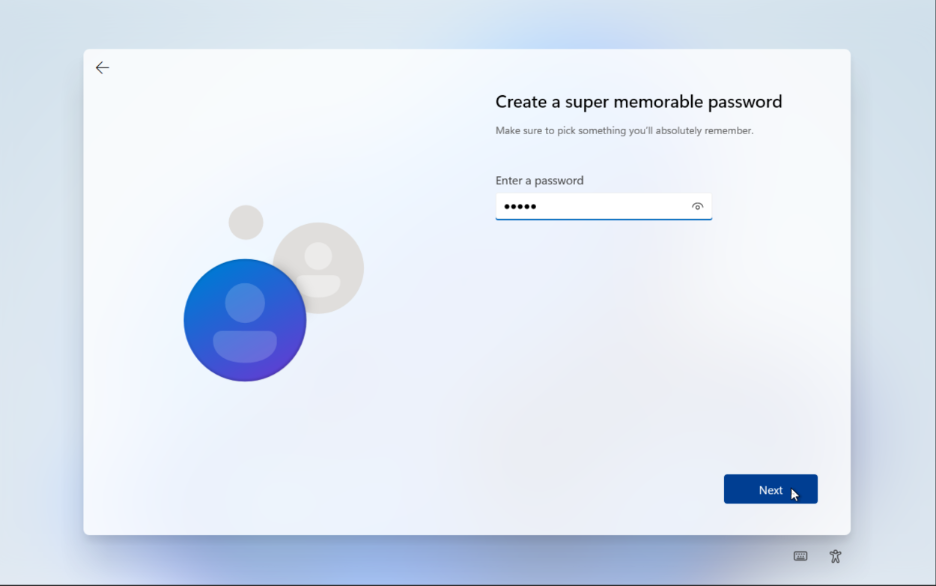
Enter password for admin.
Step 18: Confirm user password
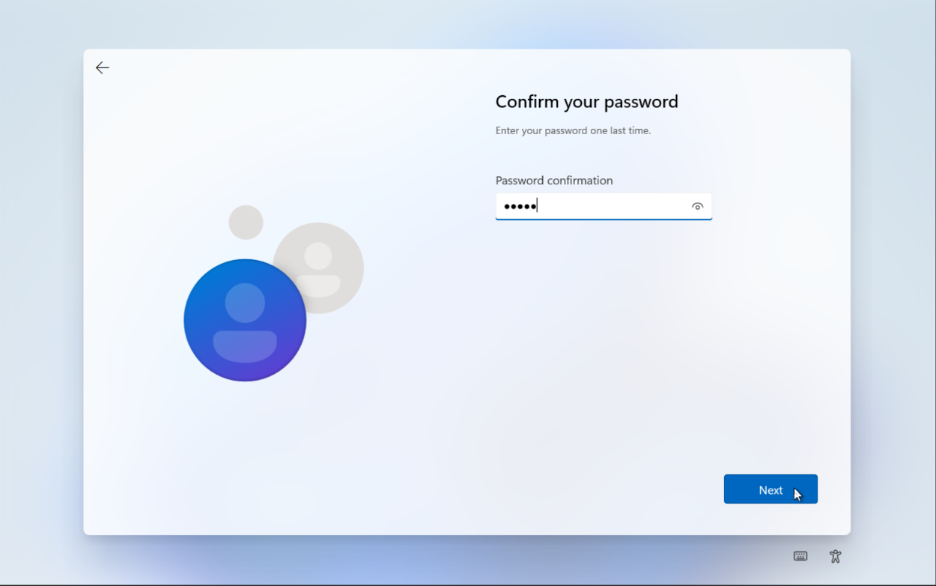
Confirm your password for admin.
Step 19: Adding security questions
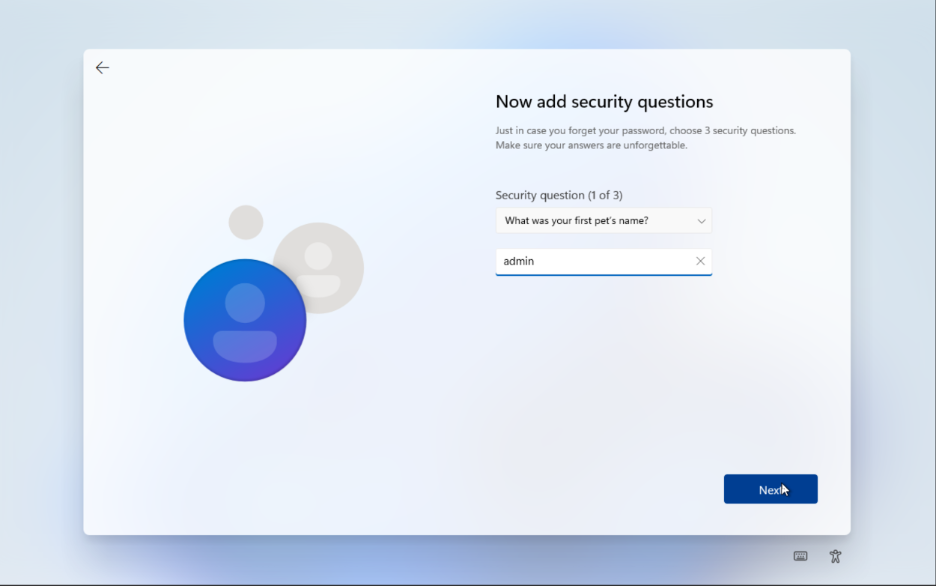
Choose and answer your security questions, and then click Next.
Background
You do need to set up all three questions with answers, that will help you recover your account in case you forget the password.
Step 20: Privacy settings
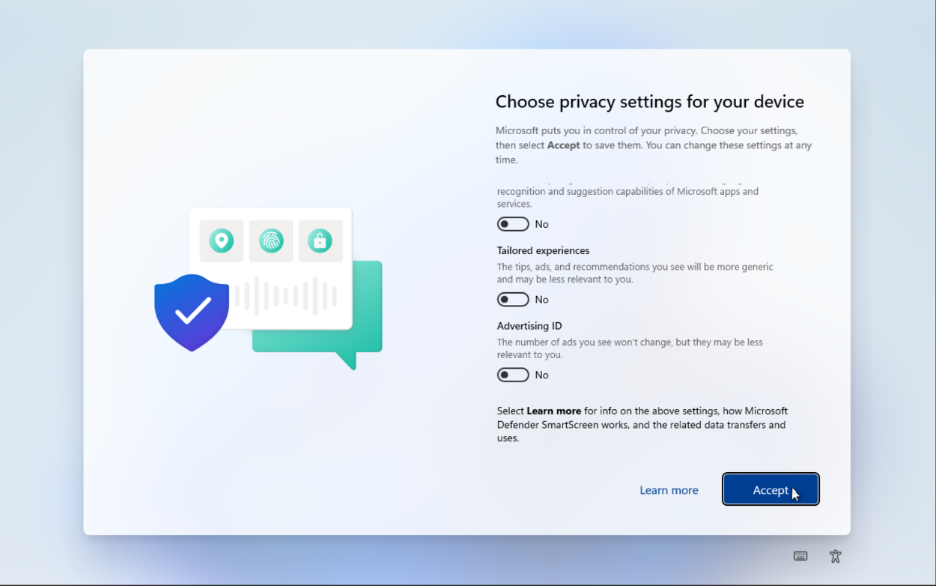
You should disable everything that's possible at this step and click Accept.
Step 21: Almost Done

After a few moments and a couple of different screens you'll be greeted with the familiar Windows 11 desktop for the first time.
Step 22: Setup complete
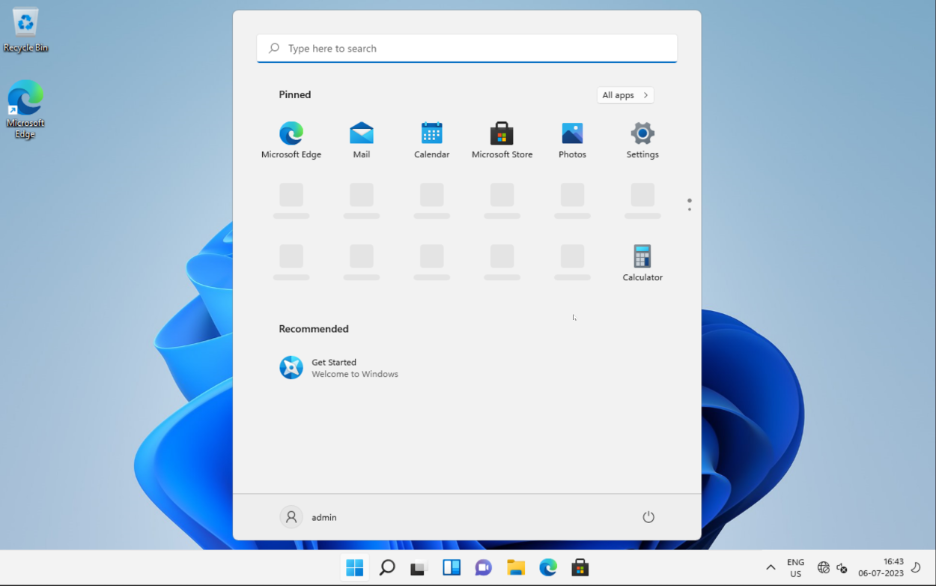
That's it. You've successfully installed Windows 11 on your new computer.
Step 23: Enabling updates for Microsoft products
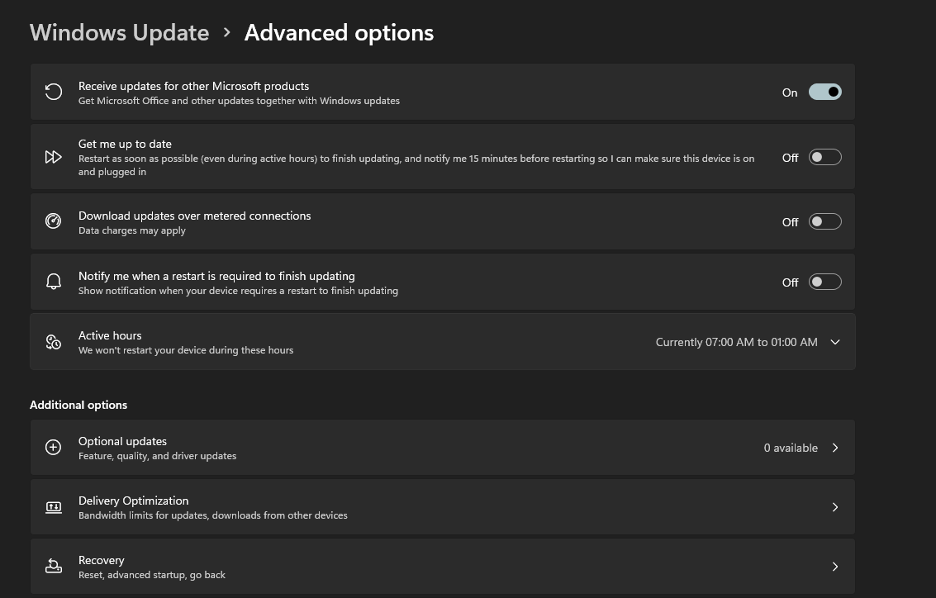
To receive updates from all Microsoft products, Enable the "Receive updates for other microsoft products" in Settings > Windows Update > Advanced options section.
Step 24: Update Windows
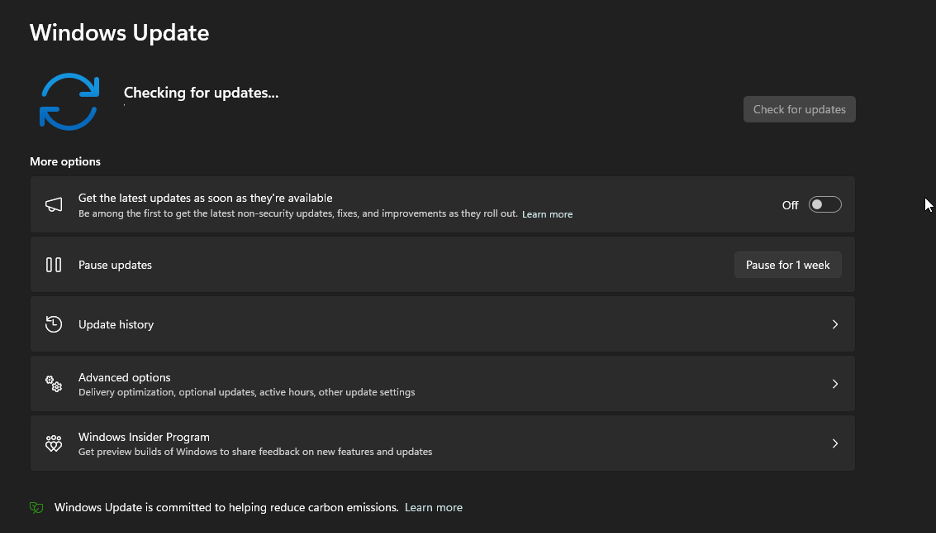
Goto Start > Settings > Windows Update and select "Check for updates". Check for available updates and install them accordingly. The computer may restart several times during the process. Continue checking for updates until none are found.
Note
If the Wi-Fi driver is not installed on your computer, you can still establish an internet connection using USB tethering with your mobile device.
- Connect your mobile device to your computer using a USB cable
- Enable USB tethering in the device settings. This will allow your computer to access the internet through your mobile device.
- Proceed with the initial Windows update, and Windows will automatically install the required Wi-Fi driver during the update process.
- Once the driver is installed, you can switch to a wireless network connection if available
Background
Windows Update is to provide regular software updates, security patches, and driver updates for Microsoft Windows operating systems. It ensures system stability, enhances performance, adds new features, and protects against security vulnerabilities, keeping your computer up to date and secure.